
You may want to disable the touchpad when using the internal keyboard on the laptop.
1. Click the Start button, type Mouse in the search box, and press Enter.
2. In the Search result, click Mouse or Mouse Properties.
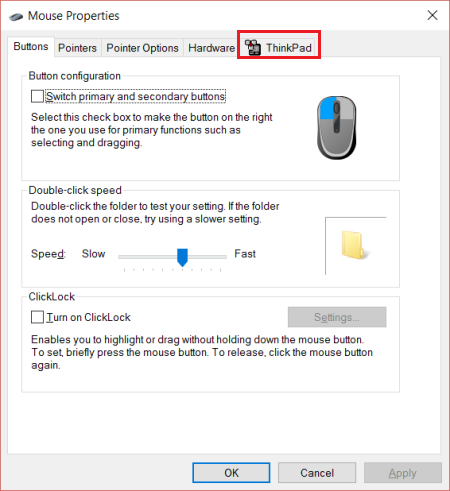
3. In Mouse Properties, you will see a tab called UltraNav/ThinkPad.
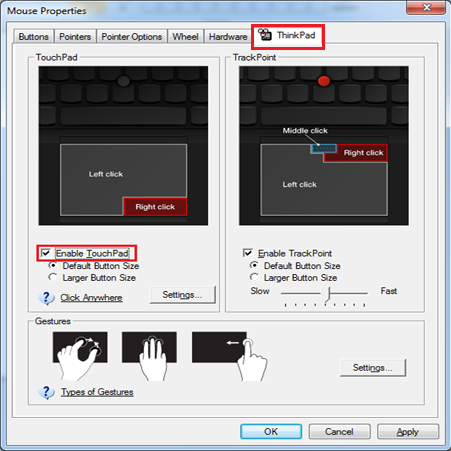
- On a ThinkPad, you will see a tab named UltraNav or ThinkPad. You will have to either check or uncheck the Enable TouchPad checkbox, or select Use TrackPoint Only from a drop-down list.
- On a Lenovo or IdeaPad laptop, the tab may be named Device Settings or show the brand name of the touchpad, and the button will be named Enable/Disable or Start/Stop device.
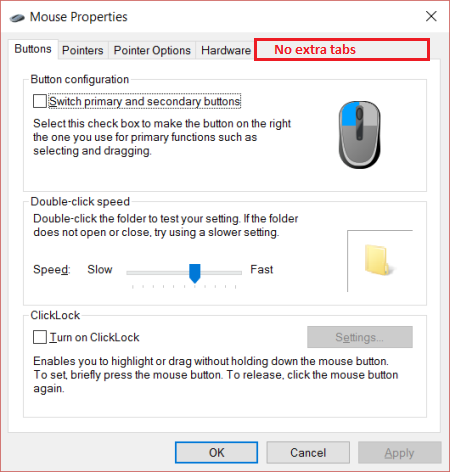
Note: If you followed the previous steps and do not see a Device Settings tab, your Touchpad driver is not installed. Go to Lenovo Support Site and select your model to download the latest Touchpad driver.
4. Check or uncheck the Enable Touchpad checkbox or select Use Trackpoint Only from a drop-down list.
5. Some Lenovo and IdeaPads, along with some ThinkPads, also have a dedicated keyboard shortcut to enable or disable the touchpad. Check your laptop user guide. If all this did not work for you, you may still have two options.
- The first is that you can disable the touchpad driver. Click on the Hardware tab, select the touchpad, click on Properties, and then Change settings. Click on the Driver tab and finally, click on Disable.
- On some models you can also disable the touchpad in the BIOS. Check the user guide on how to enter the BIOS and find the touchpad options in the Config menu.